Your Complete Guide to Libre 2 Plus
An essential resource for all Libre 2 Plus users.
Welcome to Our New Libre Online Store.
Enjoy an enhanced online experience with easier navigation and account management. Read more ( PDF, 211 KB) ADC-2695010 v1.0


Apply and Replace the Libre 2 Plus Sensor
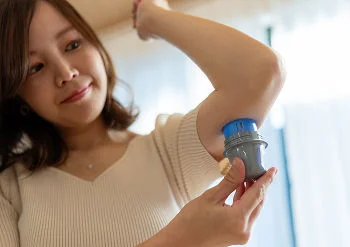
Watch how to correctly apply a new sensor and safely replace it when needed.
What is a LibreView account? And why do I need one?
Learn what a LibreView account is and how it helps store, view, and share your glucose data securely.
How do I setup my Libre Link app?
Step-by-step guide on downloading, installing, and setting up the LibreLink app on your smartphone.
How do I start my sensor using the LibreLink app?
Find out how to activate your Libre 2 Plus sensor using your phone with the LibreLink app.
Understanding my home screen.
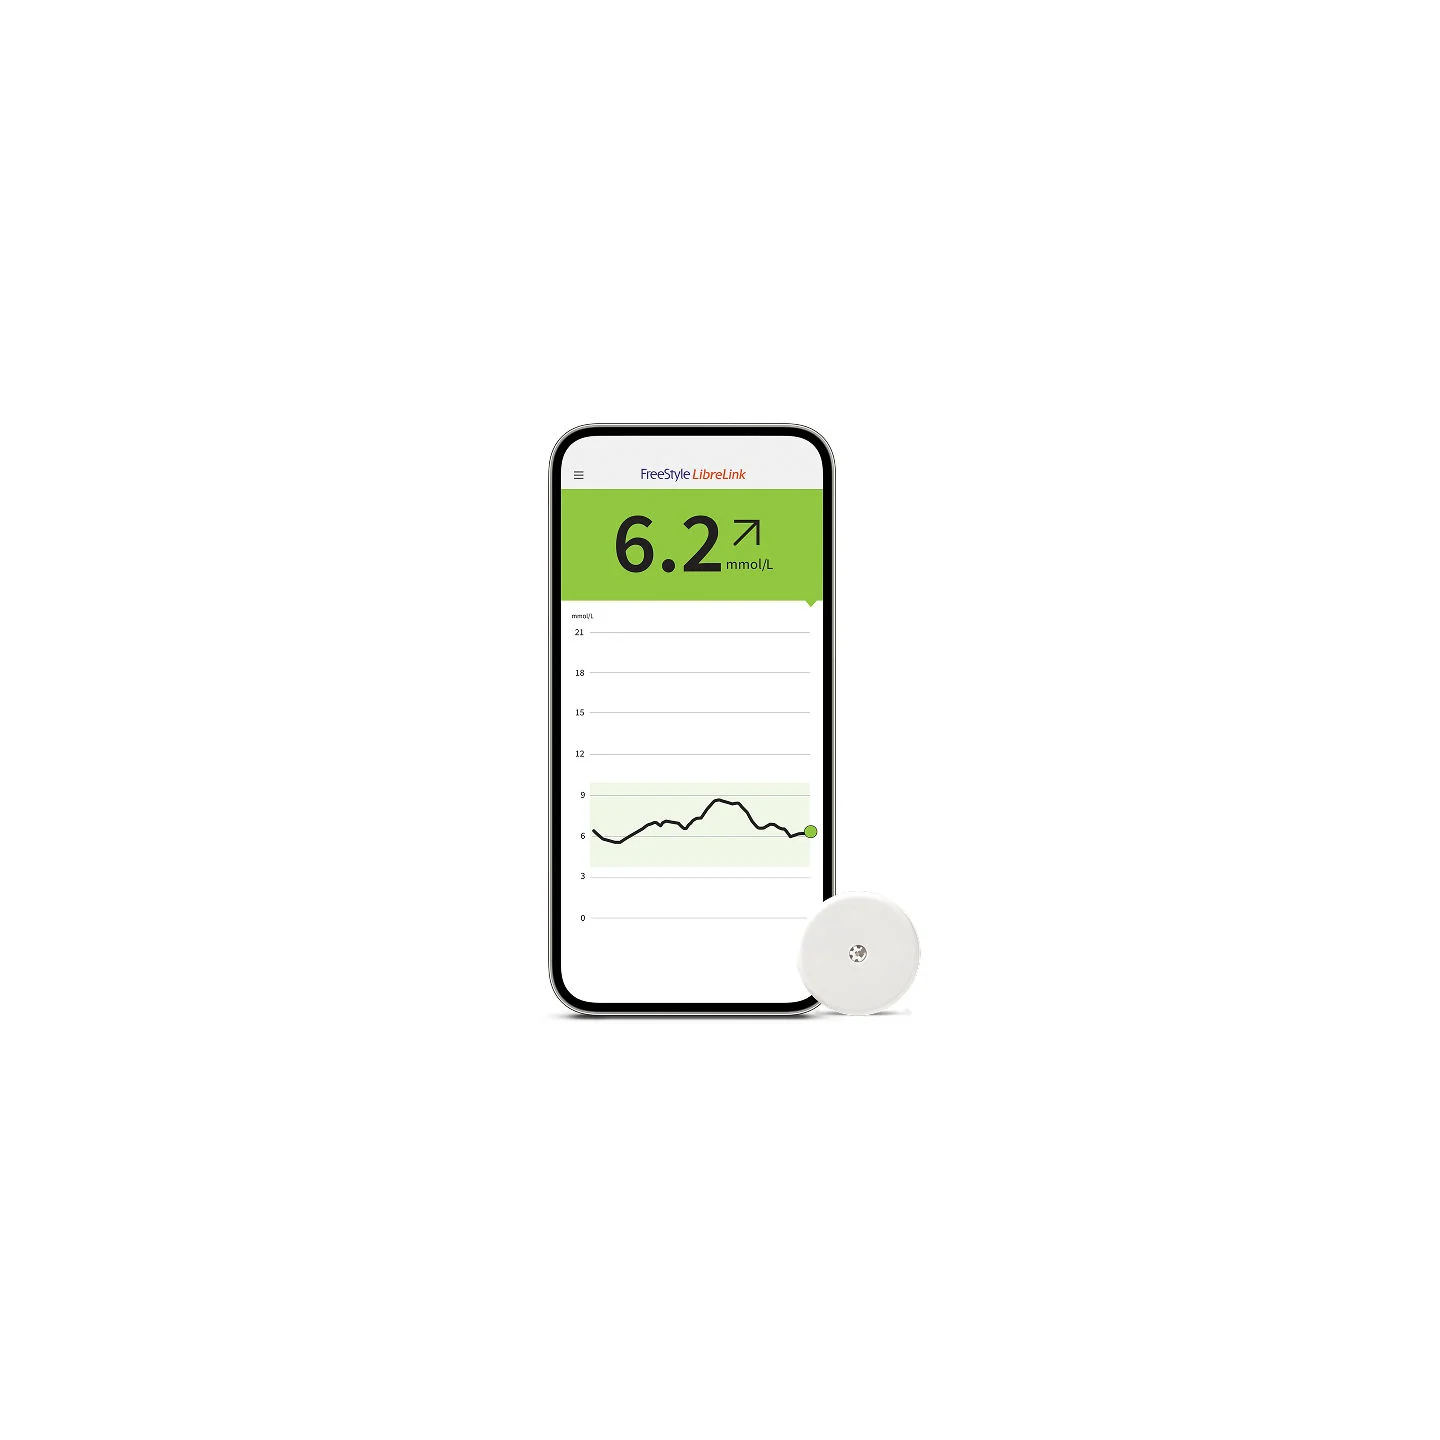
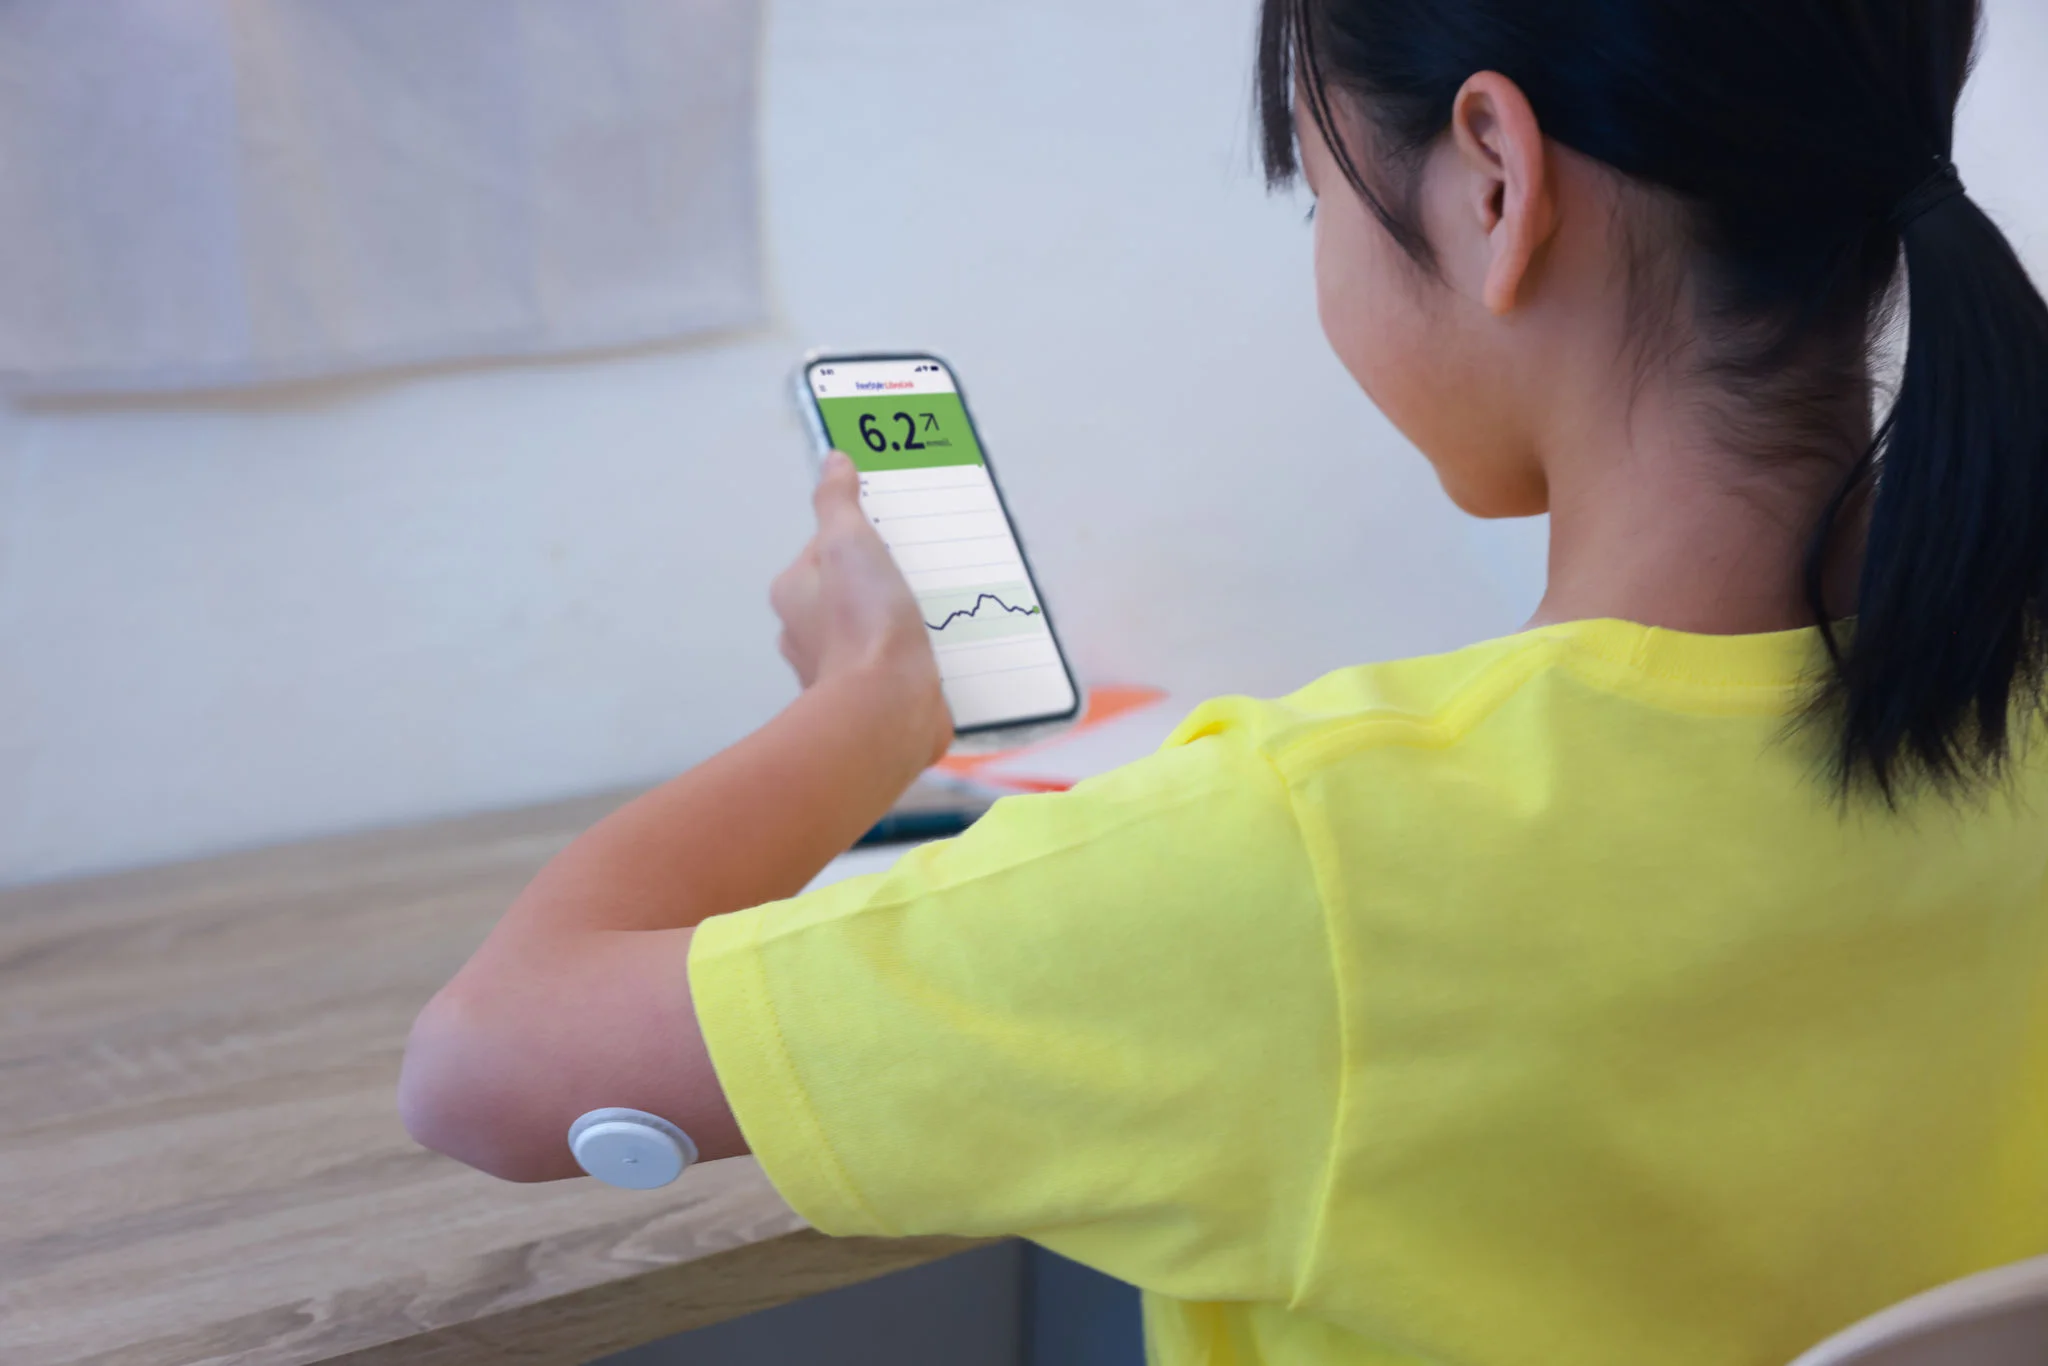
Learn how to navigate the LibreLink app home screen and interpret glucose readings, trend arrows and the glucose graph.
How do I understand my glucose readings?
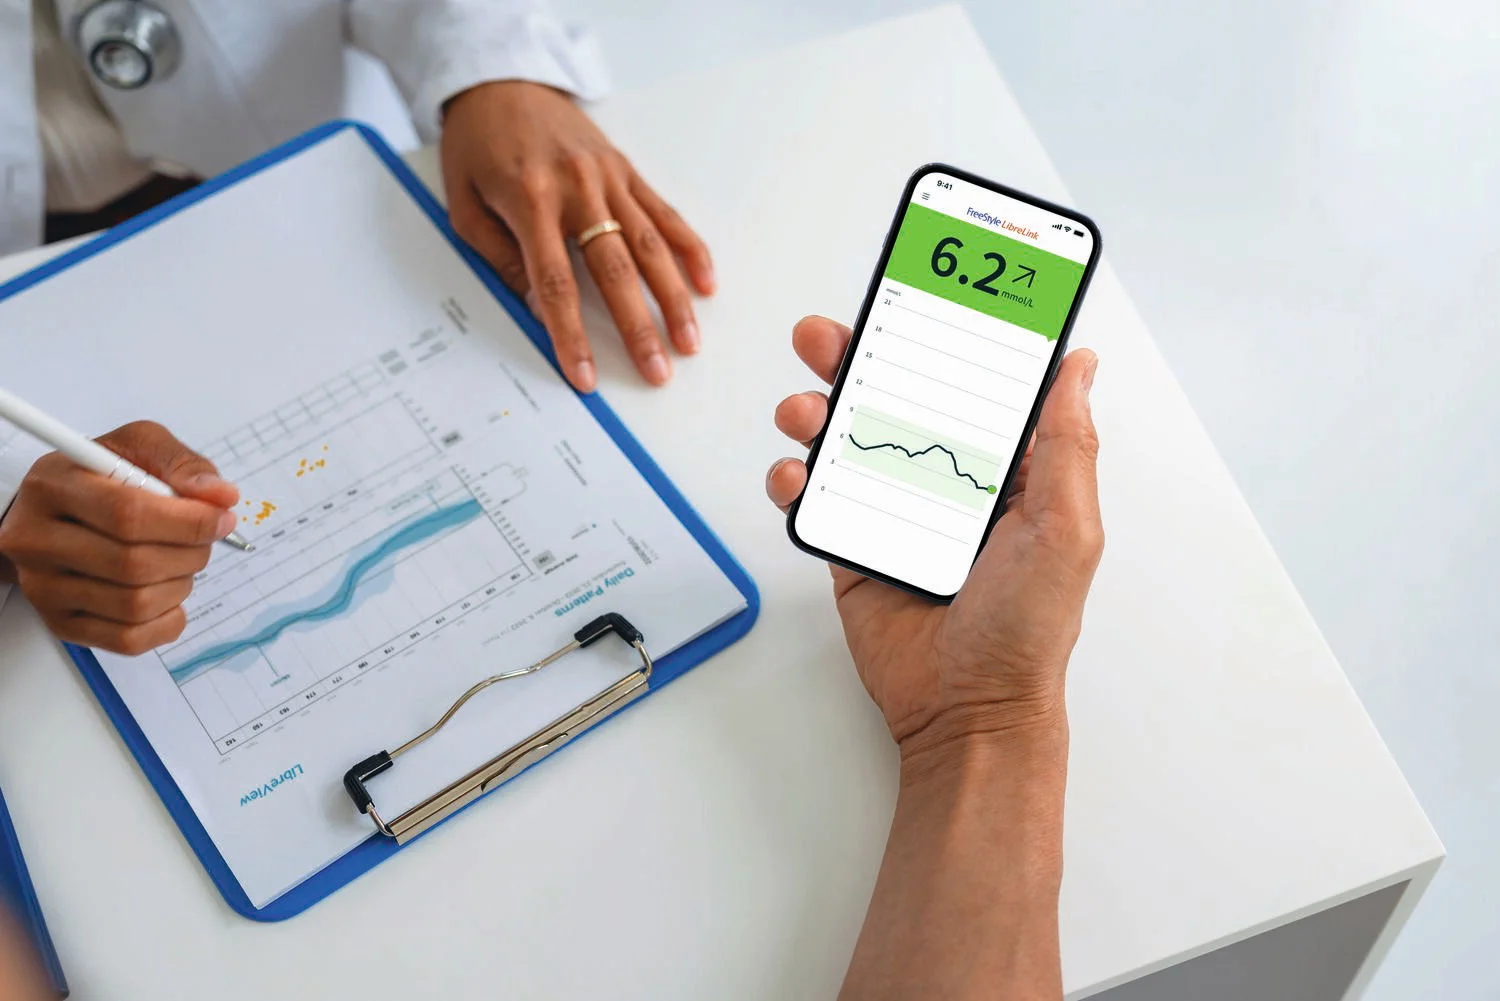
Understand what your glucose readings mean, including trend arrows and glucose patterns within the app.
How do I view my reports?
Find your glucose reports in the LibreLink app and understand key insights about your glucose patterns.
How do I add notes & see them in my logbook?
Learn how to add notes about meals, insulin, or exercise, and track them in the app’s Logbook.
How do I customize glucose alarms?
Learn how to adjust high and low glucose alarm limits, tones, and settings to fit your daily needs.
How do I use my signal loss alarm?
Understand how the signal loss alarm works and what to do when your sensor connection is interrupted.
How do I use silent mode with my glucose alarms?
Discover how silent mode affects glucose alarms and how to stay informed without sound alerts.
How do I share my glucose data with my doctor?
Step-by-step instructions to connect your LibreView account with your doctor to share your data for better care.
What is LibreLinkUp app?
A quick intro to LibreLinkUp and how it allows others to view your glucose readings remotely and instantly.
How do I share my glucose data with loved ones?
Learn how to share your glucose readings in real time with family or caregivers using the LibreLinkUp app.
How do I customize my LibreLinkUp app alarms?
Learn how to adjust high and low glucose alarms using the LibreLinkUp app.
Reader: How to set up alarms?
Follow steps to activate, adjust, and manage glucose alarms directly on your Libre 2 reader.
Reader: How to upload data into LibreView?
Learn how to connect your Libre 2 reader to LibreView and upload glucose data for your doctor to review.

This may mean that the site is not free of dirt, oil, hair or sweat. Following the below steps may help:
This may be caused by seams or other constrictive clothing or accessories causing friction at the site. Ensuring that nothing rubs on the site will help.
You may be sensitive to the adhesive material. If the irritation is where the adhesive touches skin, contact your health care professional to identify the best solution.
This may mean that Sensor is not ready to read glucose. Wait until the 60 minute Sensor start-up period has completed.
This may mean that the App or Reader is not held close enough to the Sensor. Hold the App or Reader within 4 cm (1.5 inches) of the Sensor and bring the screen of the App or Reader close to the Sensor.
This may mean the Sensor life has ended. Apply and start a new Sensor.
This means the sensor has not automatically communicated with the App or Reader in the last 20 minutes. Make sure the App or Reader is within 6 metres (20 feet) of the Sensor. Try scanning the Sensor to get a glucose reading. If the Signal Loss Alarm shows again after scanning your Sensor, contact Customer Service.
This may mean you scanned a new Sensor before your previous Sensor ended. Your App or Reader can only be used with one Sensor at a time. If you start a new Sensor, you will no longer be able to scan your old Sensor. If you would like to begin using the new Sensor, select “Yes”.
This may mean that the App or Reader was unable to communicate with the Sensor. Try scanning again.
Note: You may need to move away from potential sources of electromagnetic interference.
This may mean that the system is unable to provide a glucose reading. Try scanning again in 10 minutes.
This may mean your Sensor is too hot or too cold. Move to a location where the temperature is appropriate and scan again in a few minutes.
This may mean your Sensor was started by another App or Reader. A Sensor can only be scanned by the App or Reader that started it. Scan the Sensor again with the App or Reader that started it. Or, apply and start a new Sensor.
This may mean that your Sensor tip may not be under your skin. Try to start your Sensor again. If App or Reader displays “Check Sensor” again, your Sensor was not applied properly. Apply and start a new Sensor.
This may mean the System has detected a problem with your Sensor. Apply and start a new Sensor.
It may mean that the Reader battery is too low and you will need to charge the Reader. It may also mean that the Reader is outside of its operating temperature range. You need to move the Reader to a temperature between 10 °C and 45 °C and then try to power it on.
If the Reader still does not power on after trying these steps, contact Customer Service.
The temperature is too hot or too cold for the Reader to work correctly. Follow the below steps:
Reader error. Follow the below steps:
Blood drop is too small. or Incorrect test procedure. or There may be a problem with the test strip. Follow the below steps:
The blood glucose level may be too high to be read by the system. Or, there may be a problem with the test strip. Follow the below steps:
Blood was applied to the test strip too soon. Follow the below steps:
The test strip may not be compatible with the Reader. Follow the below steps:
Test strip may be damaged, used, or the Reader does not recognise it. Follow the below steps:
Reader Error. Follow the below steps:
The Test strip is not inserted correctly or not inserted fully into the strip port.
With the 3 black lines facing up, insert the test strip into the strip port until it stops. If the Reader still does not start a test, contact Customer Service.
Reader battery is too low.
Charge the Reader.
The test strip is damaged, used, or unrecognizable by the Reader.
Insert a new FreeStyle Optium test strip.
Reader is outside of its operating temperature range.
Move the Reader to a temperature between 10 °C and 45 °C and then try to power it on.
Reader is in a power saving mode.
Press the Home Button then insert a test strip.
Blood sample is too small.
Sample applied after the Reader turned off.
Problem with Reader or test strip

As a member of Libre Care, we will keep you informed about important information designed to enhance your Libre experience.



You are about to exit the Abbott family of websites for a 3rd party website
Links which take you out of Abbott worldwide websites are not under the control of Abbott, and Abbott is not responsible for the contents of any such site or any further links from such site. Abbott is providing these links to you only as a convenience, and the inclusion of any link does not imply endorsement of the linked site by Abbott.
The website that you have requested also may not be optimized for your screen size.
Do you wish to continue and exit this website?