What you need to know.
- Preparing your skin
- Applying the sensor
- Activating the sensor with your device
- Removing and replacing the sensor
To begin, select an area on the back of your upper arm and follow these steps:

Select site on back of upper arm.

Wash site using plain soap and water, then towel dry.

Clean the area with an alcohol wipe and air dry.
Once you’ve prepared the back of your upper arm,
apply the sensor using the applicator.

Place the sensor applicator over the prepared site and push down firmly.

The sensor should now be attached to your skin.

Secure by pressing down gently with your finger around the edge.
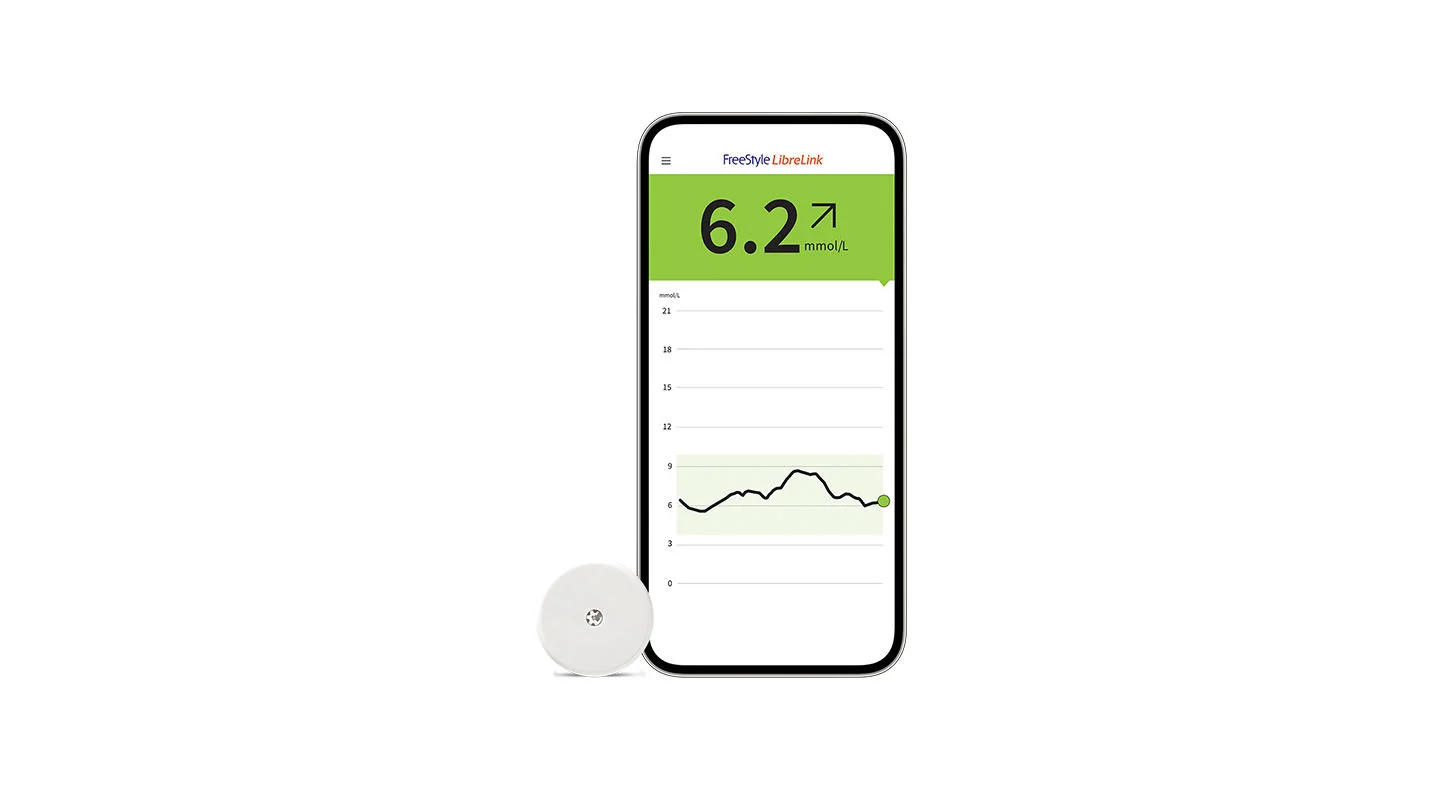
Once your sensor is applied, you need to pair it with your FreeStyle LibreLink app12
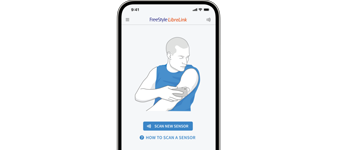
Press “Scan New Sensor” on your app12.

Hold your device near the sensor and slowly scan it.
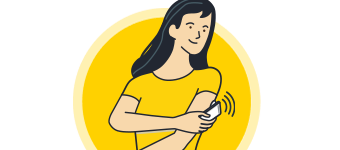
You will hear a beep or feel a vibration upon activation.
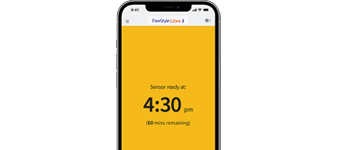
The sensor can be used to check your sugar after
60 minutes.
Your device will alert you when it’s time to replace your sensor. To remove it:

Pull up the adhesive edge, then slowly peel it off the skin.

A soft moisturizer can make it easier to remove.

Discard the used sensor and apply the new one as you did before.
To begin, select an area on the back of your upper arm and follow these steps:

Select site on back of upper arm.

Wash site using plain soap and water, then towel dry.

Clean the area with an alcohol wipe and air dry.
Once you’ve prepared the back of your upper arm,
apply the sensor using the applicator.

Place the sensor applicator over the prepared site and push down firmly.

The sensor should now be attached to your skin.

Secure by pressing down gently with your finger around the edge.
Once your sensor is applied, you need to pair it with your FreeStyle LibreLink app12

Press “Scan New Sensor” on your app12.

Hold your device near the sensor and slowly scan it.

You will hear a beep or feel a vibration upon activation.

The sensor can be used to check your sugar after
60 minutes.
Your device will alert you when it’s time to replace your sensor. To remove it:

Pull up the adhesive edge, then slowly peel it off the skin.

A soft moisturizer can make it easier to remove.

Discard the used sensor and apply the new one as you did before.
View video for full details.
helpful guides for more information.
Stay up to date with the latest information
