Easy does it.
Try not to catch your sensor on doorways, car doors, and seat belts. Avoid touching it once on.
FreeStyle Libre basics
Tips for applying, removing, and setting up your FreeStyle Libre sensor.
Let’s get you set up.
You can count on the FreeStyle Libre system with its proven accuracy5 for your most important glucose decisions.
Our sensor doesn’t require fingerpricks10 calibration, and your FreeStyle Libre sensor is compatible with your smartphone31, giving you data you can access from anywhere. Here’s what you need to know to get started.
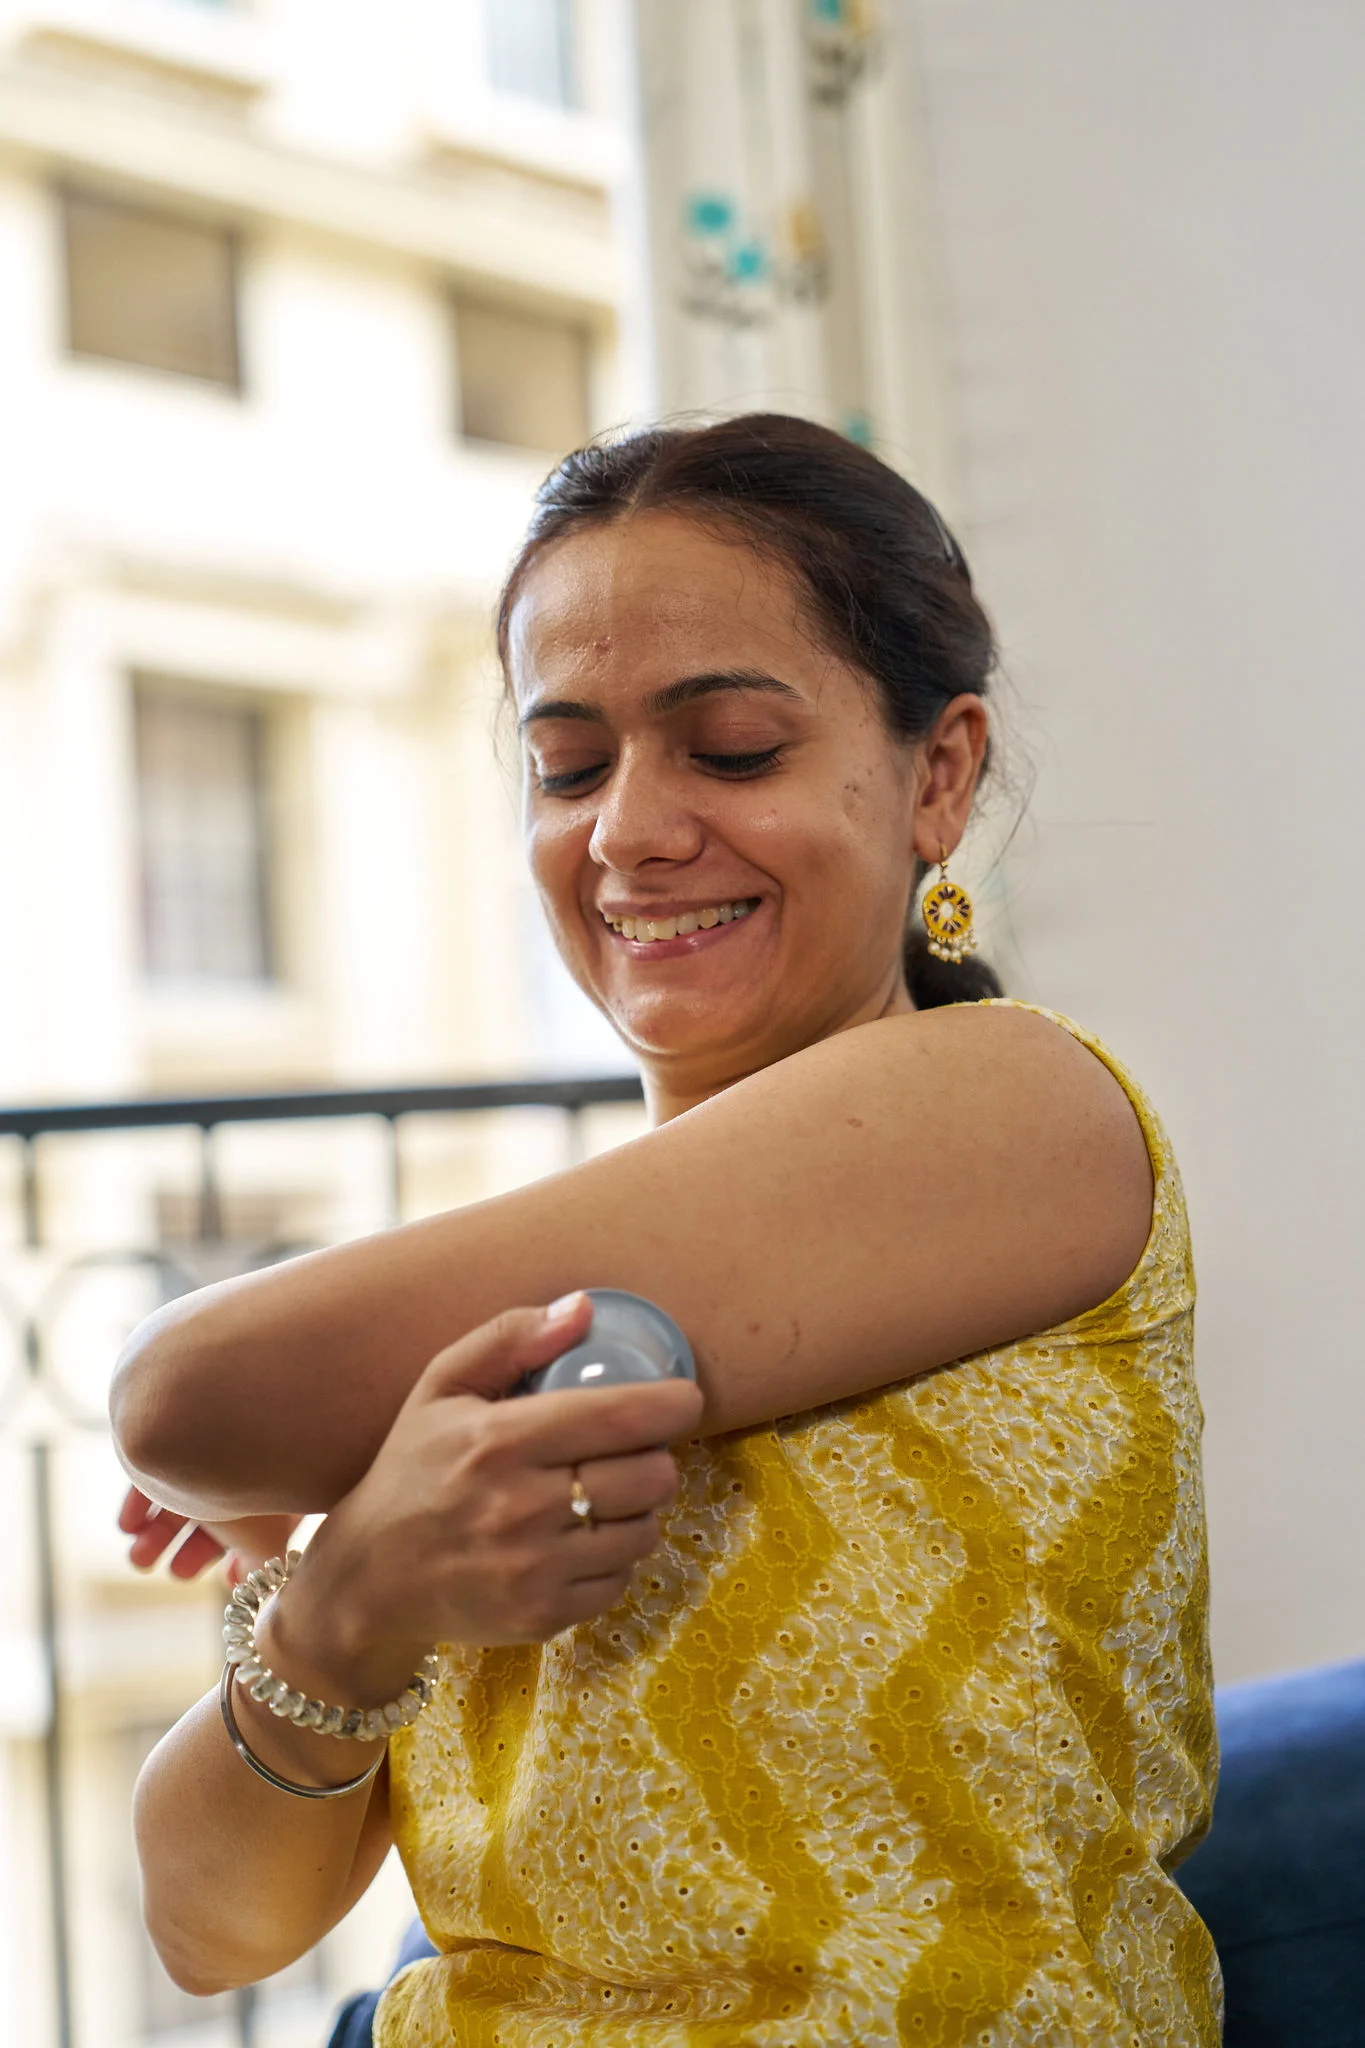
Applying and removing your sensor.
For an easy sensor application and removal, follow these simple steps.
- Preparing your skin
- Applying the sensor
- Removing and replacing the sensor

Step 1
Select an area on the back of your upper arm.

Step 2
Wash the area using plain soap and water, then towel dry.

Step 3
Clean the area with an alcohol wipe and air dry.
Next, apply the sensor using either the two-piece or one-piece applicator.

Step 1
Place the applicator over the prepared site and push down firmly.

Step 2
The sensor should now be attached to your skin.

Step 3
Secure it by pressing down gently around the edge with your finger.
Your device will alarm you when it’s time to replace your sensor. To remove it:
Step 1
Pull up the adhesive edge, then slowly peel it off the skin.

Step 2
Using a soft moisturizer can make removal easier.
Step 3
Discard your used sensor and apply the new one as you did before.
Step 1
Select an area on the back of your upper arm.
Step 2
Wash the area using plain soap and water, then towel dry.
Step 3
Clean the area with an alcohol wipe and air dry.
Next, apply the sensor using either the two-piece or one-piece applicator.
Step 1
Place the applicator over the prepared site and push down firmly.
Step 2
The sensor should now be attached to your skin.
Step 3
Secure it by pressing down gently around the edge with your finger.
Your device will alarm you when it’s time to replace your sensor. To remove it:
Step 1
Pull up the adhesive edge, then slowly peel it off the skin.
Step 2
Using a soft moisturizer can make removal easier.
Step 3
Discard your used sensor and apply the new one as you did before.
Tips for keeping your sensor in place.
Wear it comfortably.
Careful when dressing—give the sensor room to breathe with lightweight, loose-fitting clothes.
It’s water-resistant.
Avoid submerging the sensor more than 3 feet or for more than 30 minutes at a time. Gently pat it dry.
Play it safe.
Try an over-bandage if playing contact sports. Use skin adhesive if sweating loosens the sensor.
For tips applying and keeping your sensor in place, watch the following video
If using FreeStyle LibreLink App31 with a FreeStyle Libre 2 Plus sensor, you need not scan your sensor. It will send real-time glucose readings directly to your app.
Starting your sensor.
Before starting your sensor, you’ll want to download the LibreLink app31 onto your phone.

Step 1
From the app’s Main Menu, tap Start New Sensor

Step 2
Scan your sensor by touching it with the top of your smartphone. You’ll receive a tone and vibration when you’ve successfully started it.
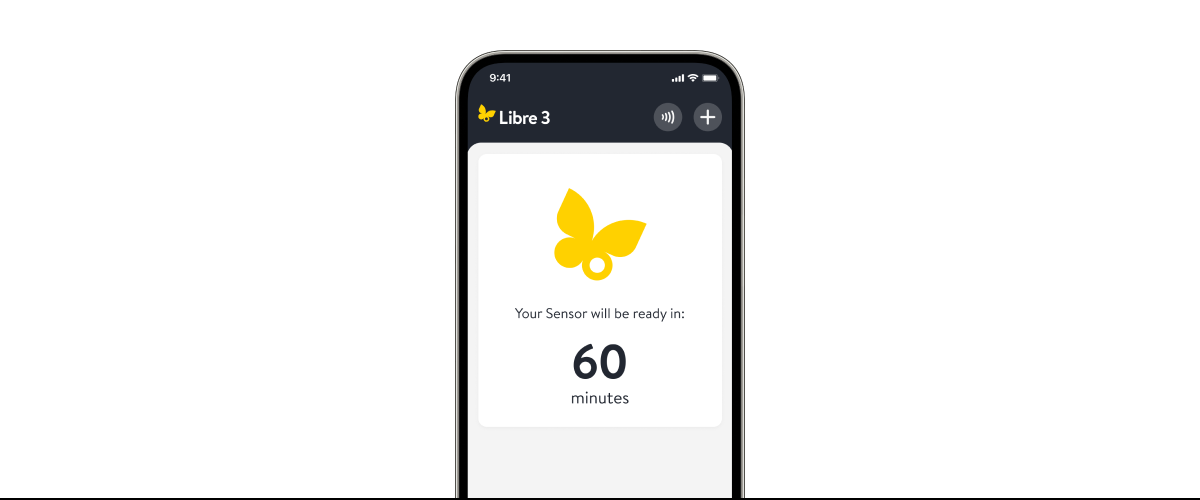
Step 3
The sensor can be used to check your glucose after a 60-minute warm-up period. If notifications are turned on, you will automatically receive a notification when your sensor is ready.
Watch our short guides for more help.
Starting your sensor
Understanding your home screen
Reading your app’s home screen.
Customizing your Low and High Glucose alarms
Setting your app's thresholds.
Viewing your reports
Exploring your app's glucose data.
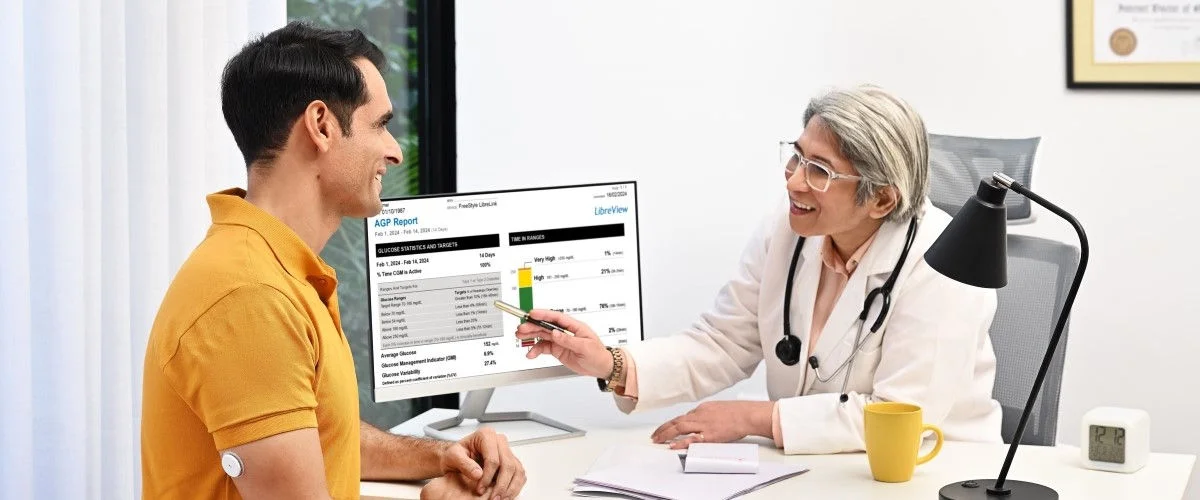
Share your glucose data with your doctor
Get actionable insights from data.
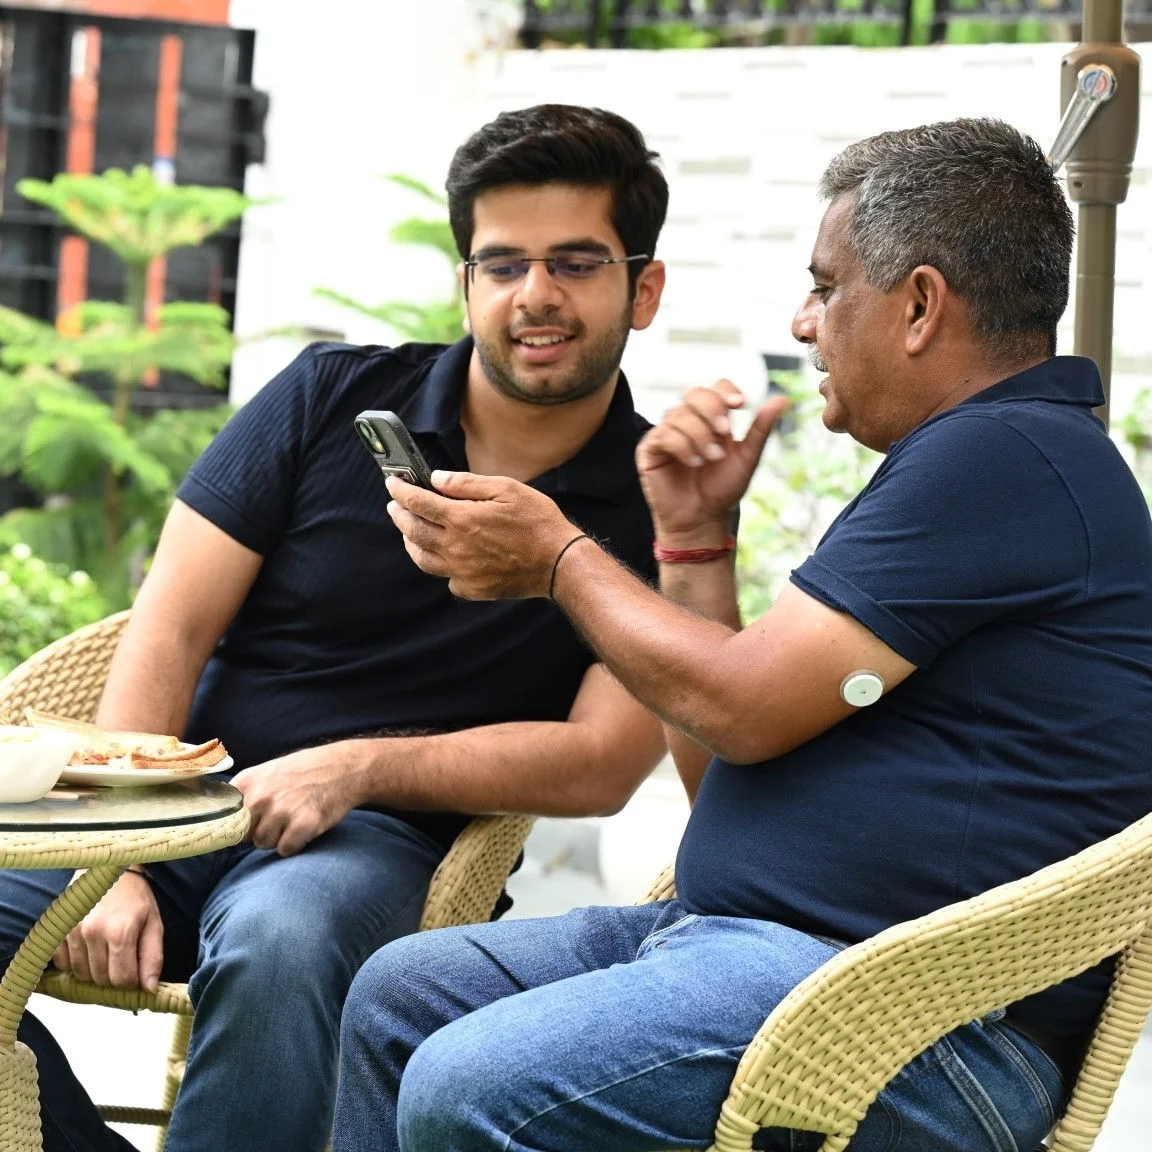
Share your glucose data with your loved ones
Get more peace of mind.
FAQs
Have questions? We’ve got answers to help.
Your sensor is designed to stay in place for its full wear duration. If it ever loosens early, it’s usually due to skin issues or bumping into things. Residual oils on the skin, sweat from intense movement, or the sensor getting knocked or tugged during daily activity might cause it to loosen.
If loosening happens or feels like it isn’t secure, we’re here to help.
If your sensor falls off or if you FreeStyle LibreLink app31 displays a “Replace Sensor” message before the expected wear time ends, please reach out to Customer Service—we’re here to help. Complete the quick online sensor support request form at: India Sensor Support Request | Support | Abbott or contact our Customer Care Team at 1800 2100 998 or adc-cs.in@abbott.com. Our team is ready to support you. We’ll help you troubleshoot your sensor issues and ensure you don’t encounter the same problem in the future.
The FreeStyle Libre 1 & 2 Plus sensors are 5mm in height and 35mm in diameter.
The portion of the sensor that gets placed on the skin is less than 0.4 mm wide and is inserted only about 5mm under the skin.
In a study conducted by Abbott Diabetes Care, both children and adults generally found the FreeStyle Libre 2 system easy and comfortable to wear4
In a study conducted by Abbott Diabetes Care, FreeStyle Libre users found the sensor comfortable and easy to wear. Almost everyone who responded to questions said putting the sensor on was easy, that it hurt less than a fingerprick test, and almost all users said wearing the sensor itself was painless4
Your FreeStyle Libre system sensor takes one hour to calibrate to your body and collect the proper data to start providing reports.
Your CGM is ready to use without fingerprick 10 calibration, so you won’t need routine BGM checks.
That said, if your symptoms don’t match what your CGM readings are showing, a quick fingerprick 10 test with a BGM can give you a single reading that you may need in that moment.
As you continue to use your sensor, you’ll see your CGM become the steady, reliable guide you use without thinking about BGM checks.
In an Abbott Diabetes Care study, the FreeStyle Libre 2 Plus system showed strong accuracy for adults with the average difference from lab results being about 8%5
Looking for more guidance?
ADC-2690378 v1.0